
LET’S GET STARTED
Fear not…no tools are required to enjoy your DIY Moon Lamp, although you will need glue and 2 AA batteries (not included).
- Model Number: ML-LP300-MO Leave a Review
LET’S DO IT (YOURSELF):
1
Glue the base pieces together as shown in the diagram along the marked areas. Let dry for 2 minutes before moving on
2
Thread the LED light strand through the hole on the top of the base, leaving the battery box hidden beneath
3
Using the adhesive stickers, secure the light strand so that each light shows through a hole cutout.
4
Apply glue along the side of the inner moon shape and secure to the backside of the outer shape, ensuring the light strand is tucked inside. Apply more glue on the inner moon shape and top with the second outer moon shape, enclosing the light strand. Let dry 2-4 minutes
5
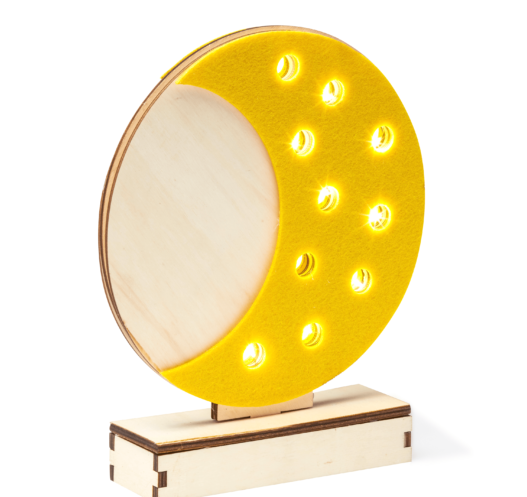
Glue the felt shapes to the outside of the moon, making sure to match up with the hole cutouts. Apply glue to the bottom of the moon and fit into the square opening on the base

LIGHT IT UP:
1
Once completely dry, turn the lamp over and remove the sticker cover from the battery box. Press the battery box to the inside of the base to secure
2
Open the battery pack and insert 2 AA batteries to start enjoying your DIY Moon Lamp!
*Batteries, glue and additional decorations not included. Follow each step as directed to ensure proper assembly. Adult supervision is advised*
Our Promise
It’s our mission to help spread the joys of healthy living through ‘live-well’ products that are specially-designed to brighten your space, energize your life, and put a smile on your face. While life may throw all sorts of curve balls, we’ll help you on your quest for health and happiness by delivering our products straight to your door. We’re Make Lemonade.